Change a Report's Page Settings
In the Report Designer, page settings of a report can be specified in one of two ways. The first approach forces the default printer settings to be used when the report is printed, while the other one enables you to alter page settings independently.
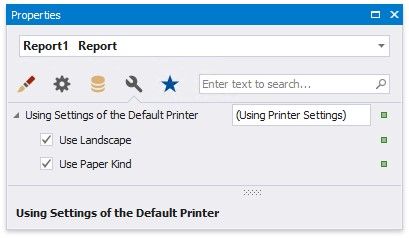
Use Settings of the Default Printer
For the orientation and paper size, you can specify a requirement that applies the corresponding printer settings instead of the report's. In this instance, the page properties in the Property Grid are disabled and displayed as grayed out. This may be useful when the report is printed in several places with different printers and printer settings.
Specify the Report's Page Settings
While designing the report, you can specify the report's page settings in the Property Grid's Miscellaneous tab:
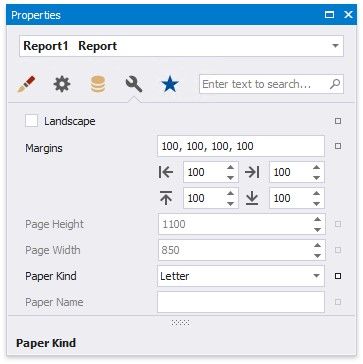
You can set the page orientation and modify the margins. The margin values are expressed in the report's measurement units. You can select from the predefined paper sizes (Paper Kind property), choose Custom and create your own paper size, or select one which is already defined for this printer (Paper Name property).
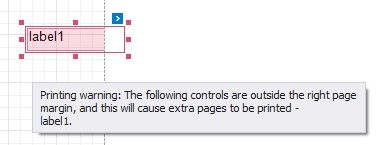
These settings affect the layout of the report's design surface. After their modification, you may notice red warning marks, indicating that the controls go beyond the page width. These warnings can be switched off by setting the Show Printing Warnings property of the report to No.
You can also modify the page settings in Print Preview using the Page Setup dialog.
Enable the Right-To-Left Layout
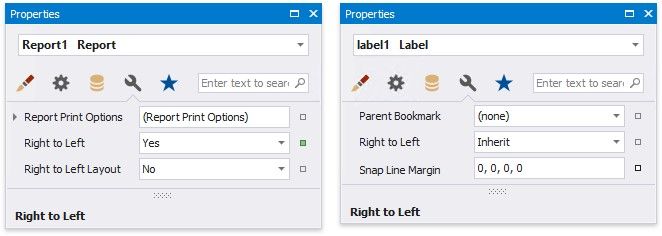
The report and most of the report controls provide the Right to Left property.
This property specifies content layout within a control (for most controls, this property affects the direction of their text, and for the Check Box, this property also affects the check box position within the control).
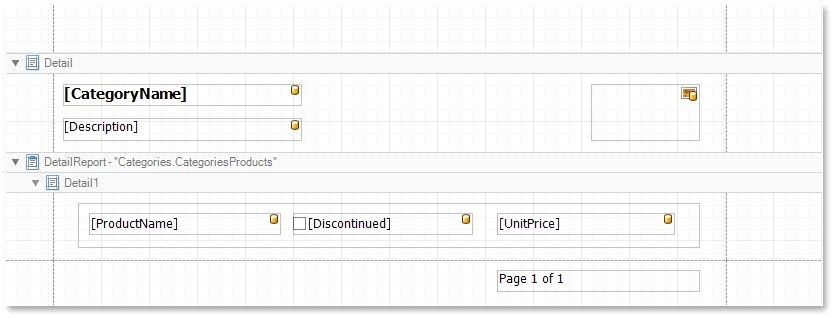
By default, all report controls have this property set to Inherit, so enabling it for a report will apply this setting to all its controls.
The following controls support this feature:
•Label
•Check Box
•Page Info
•Panel
•Pivot Grid
•Table
•Table of Contents
For the Panel and Table, this option only affects the controls contained in them.
When the Right to Left property of a report is set to Yes, you can also enable the Right To Left Layout property that specifies the position of controls within report bands. Enabling the right-to-left layout will also swap the page margins of a document (it will become impossible to place controls outside the right page margin).
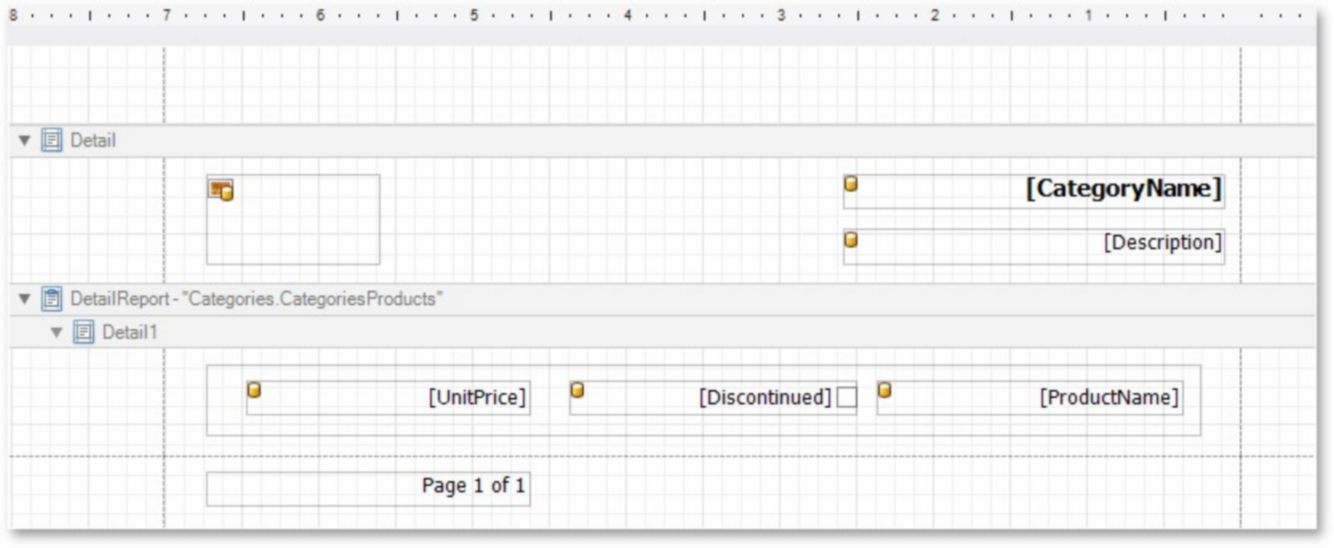
The controls' coordinates will remain unchanged and only the point and direction of reference will change (the X coordinate will be calculated starting with the top right corner).
The right-to-left layout is preserved when exporting a report to any of the supported formats (e.g., PDF, Excel, or RTF).
Use Report Elements
The documents in this section describe how to use various controls in a report, manipulate report elements and customize the report layout:
Manipulate Report Elements
Bind Controls to Data
Use Embedded Fields (Mail Merge)
Update Report Data Bindings
Use Basic Report Controls
Use Tables
Use Barcodes
Use Charts and Pivot Grids
Use Gauges and Sparklines
Draw Lines and Shapes
Manipulate Report Elements
The following topics describe how to add various controls to a report, manipulate report elements and customize the report layout:
Add Controls to a Report
Select Report Elements and Access Their Settings
Move and Resize Report Elements
Apply Styles to Report Elements
Copy Report Controls
Reuse Report Controls
Arrange Report Controls
Convert Labels to Table
Add Report Controls to Containers
Validate the Report Layout