Add and Remove Table Borders
Add Borders
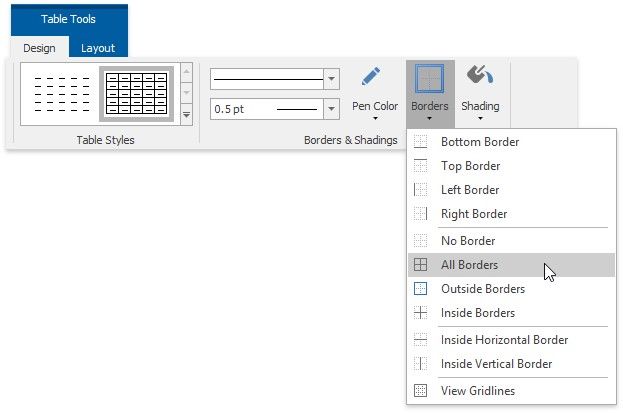
![]() Add Borders to the Whole Table
Add Borders to the Whole Table
1.Select a table.
2.On the Table Tools/Layout tab, in the Borders&Shadings group, click the Borders button and select one of the available border sets.
![]() Add Borders to Specified Cells Only
Add Borders to Specified Cells Only
1.Display gridlines to view boundaries of the table cells and select cells to be provided with borders.
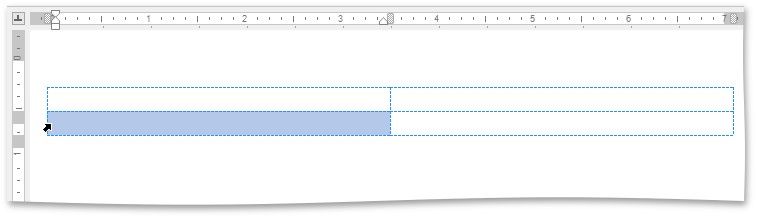
2.On the Table Tools/Layout tab, in the Borders&Shadings group, click the Borders button and select the border that you want to apply to cells.
Remove Table Borders
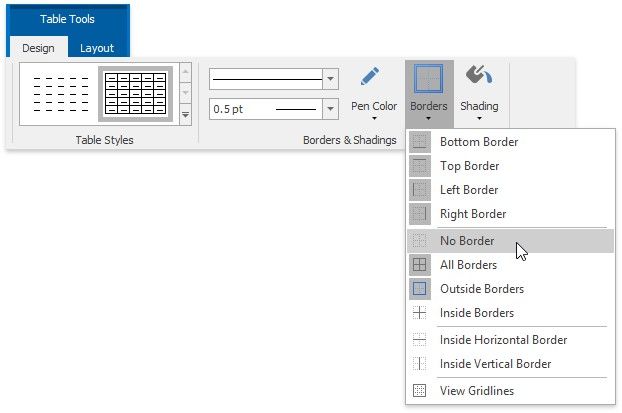
![]() Remove Borders from the Whole Table
Remove Borders from the Whole Table
1.Select a table.
2.On the Table Tools/Layout ribbon tab in the Borders&Shading group, click the Borders button and select No Borders from the invoked list.
![]() Remove Borders from Specified Cells Only
Remove Borders from Specified Cells Only
1.Display gridlines to view boundaries of the table cells and select cells from which you want to remove borders.

2.On the Table Tools/Layout tab, in the Borders&Shading group, click the Borders button and select No Borders from the invoked list.
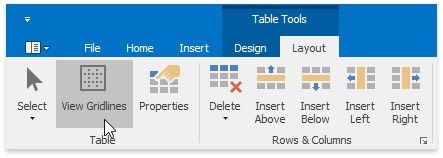
Show or Hide Gridlines
Gridlines show boundaries of a table cells when no borders are applied. Unlike borders, gridlines are shown on screen only and never printed.
To show or hide table gridlines, on the Table Tools/Layout tab, in the Borders&Shading group, click the View Gridlines button.