Manage Report Bands
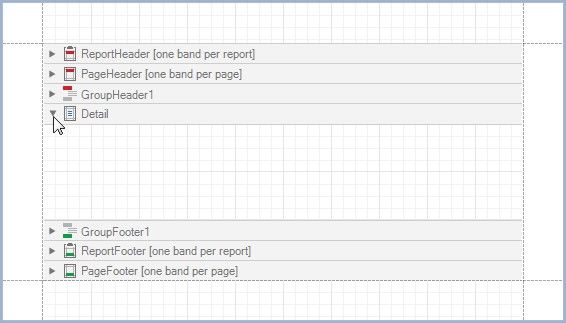
Expand or Collapse Bands in the Report Designer
Click the arrow button on a band's title to collapse or expand that band.
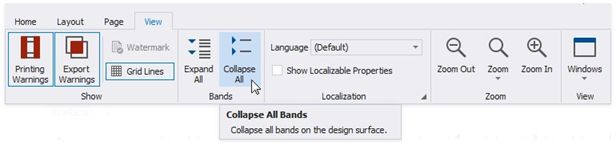
Click Collapse All on the Toolbar's View Tab to collapse all bands in a report. Click Expand All to expand all report bands.
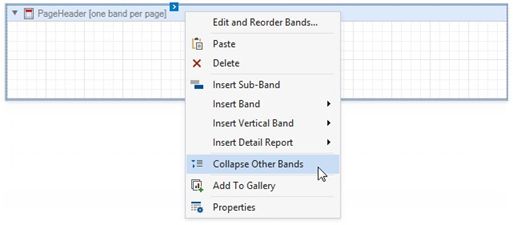
Right-click a band and select Collapse Other Bands from the context menu to collapse all bands except the clicked band.
Hide Bands in the Report Document
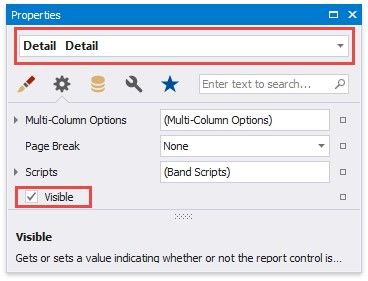
You can avoid printing band content in a document. To do this, select the band and set the band's Height property to zero or disable its Visible property in the Property Grid.
Remove Bands
Select a band on the report design surface and press DELETE. This removes the band and all its content.
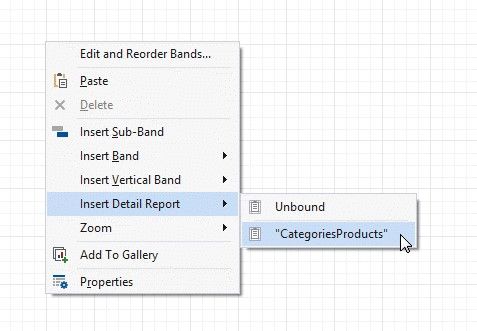
Add Bands
To add a band, right-click a report's design surface, and in the invoked context menu, choose Insert Band.
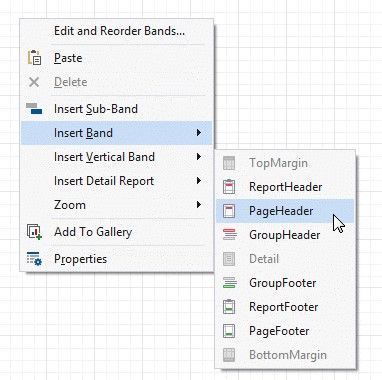
You can insert a detail report band if the report's data source has master-detail relations.
Access the Bands Collection
Click the Edit and Reorder Bands context link in a report's smart tag to access the report's bands collection.
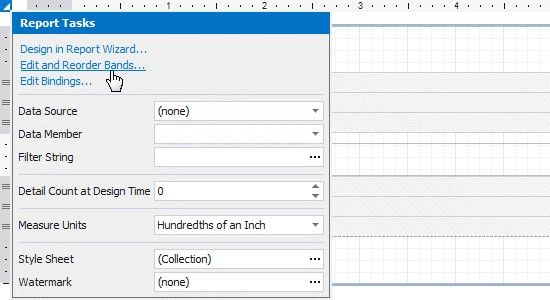
This command is also available in a band's context and smart tag menus.

The invoked editor allows you to reorder bands and change their properties.
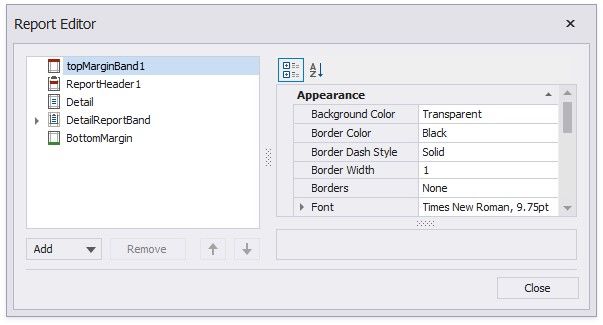
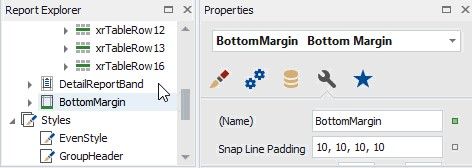
Alternatively, use the Report Explorer to edit and reorder bands. Select a band and edit its properties in the Property Grid.
Drag a band to change its order or move inside/outside of another band. The drop targets are highlighted when you drag a band over them.
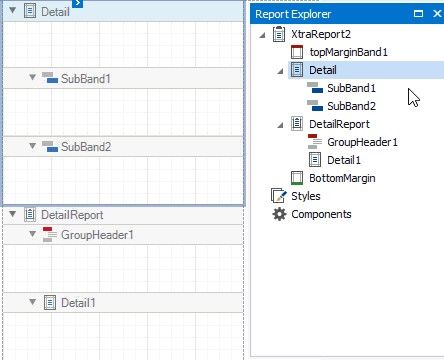
You can drag bands to the following targets:
DRAGGED BAND |
DROP TARGETS |
SubBand |
All bands except TopMargin and BottomMargin |
GroupHeader, GroupFooter |
XtraReport (root node), DetailReport |
DetailReport |
XtraReport (root node), DetailReport |