The E-mail MPRs to Member creates the MPR for the period selected and automatically emails them to each selected member. The e-mail account use for delivery of the MPRs is noreply@unipco.ca.
IMPORTANT
The Unipco.ca mail server used for sending the MPRs has no limit on the volume of email it can send. But, like any other email server it has limits on the rejected email it will accept. If the threshold for rejected emails is reached, the account will be seen as a SPAM account and locked up as to no longer be able to send emails. If this issue happens too many times your email account will be terminated.
The amount of rejected emails allowed for your account may vary based;
1) on the percentage of emails rejected versus the total being sent.
2) how many emails are being rejected per time period (minutes) or based on the rejected emails per volume sent for a period of time.
3) the level of SPAM activity on the Internet for the time, day or period based on the then current internet activity. This variability is designed to increase security and relax security based on what is happening on the Internet.
To minimize the chance that your account is identified as a SPAM account, you must review before sending emails that the emails are correct. Also after the MPR are sent, review the reject email message delivered in the INBOX of your account. You must correct the reported rejected email addresses before you can continue.
Based on the volume of emails being sent, speed of your internet connection and speed of your RHOP server, sending your e-mails may take 2+ hours to complete.
Emails are sent in a Batch process and cannot be stopped once started.
A copy of the MPR sent is automatically added to the Members Profile.
|
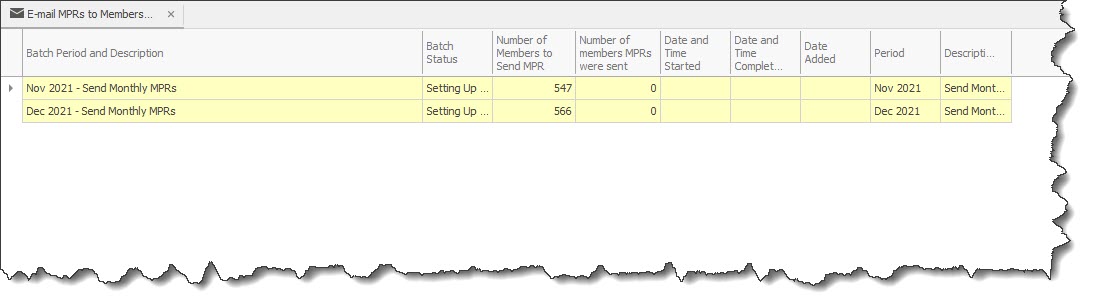
The table displayed when the MPR option is selected, list all past MPRs sent and at which date and for which period it covered.
By selecting the New button a user can create a new batch file
The New Batch Screen will be displayed.
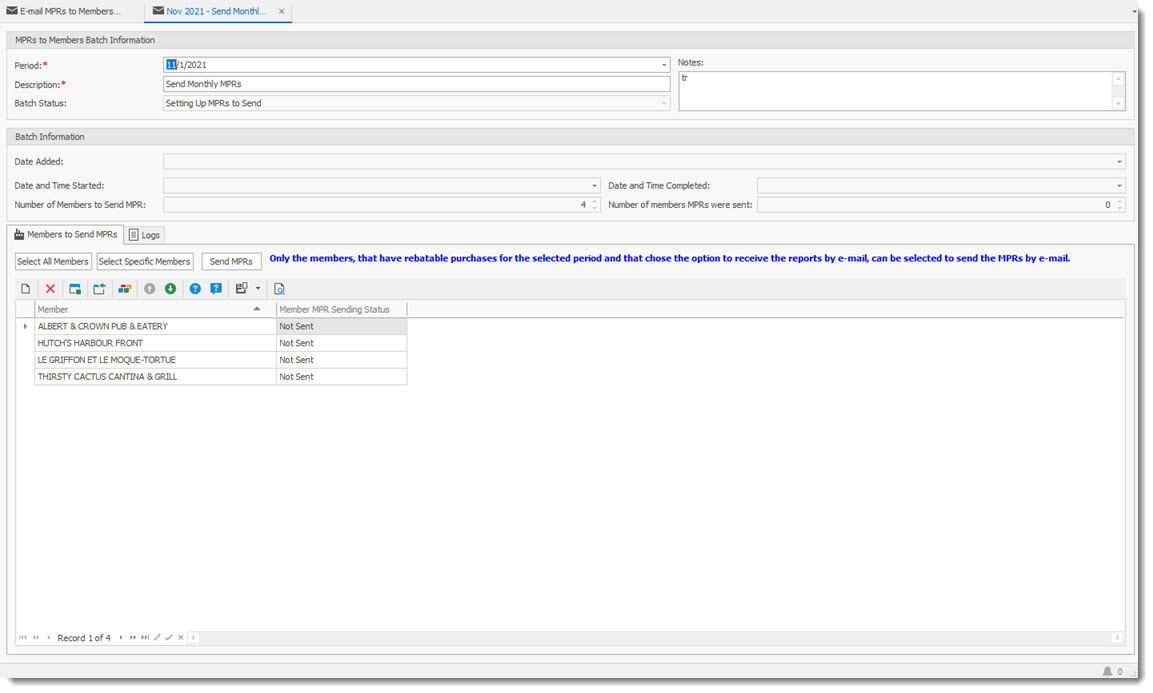
Users must complete the field in this screen to create the batch file to be sent.
•The Period field is to select the month to use to create the MPRs ( select any date in the month to send the MPRs. By default RHOP will change the date selected to the first of the month which identifies the month chosen irregardless which date is chosen by the user)
•The Description field is to record a useful name to identify and retrieve the batch file
•The Batch Status shows the current status of the process for sending the MPRs (see below)
•The Notes field permit recording special notes associated with the batch being created. (for example, if sending only to one member you can record why this was necessary)
•The Batch Information section provides a summary of the batch being created / sent.
The Batch Period and Description is created by the user to identify the batch. The Batch Status field identifies the current status of the MRP send request.
The Batch Statue: displays the status of the send request. Following are the various status
•Setting Up MPRs to Send ( preparing the file)
•Send Monthly MPRs ( prepares the MPRs for sending)
•Ready to send (the file is Ready to Send and activates the actual sending process)
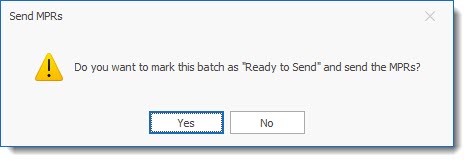
A confirmation screen will display the final confirmation for delivery of the e-mails. Once the send process is started by pressing "YES" it cannot be canceled.
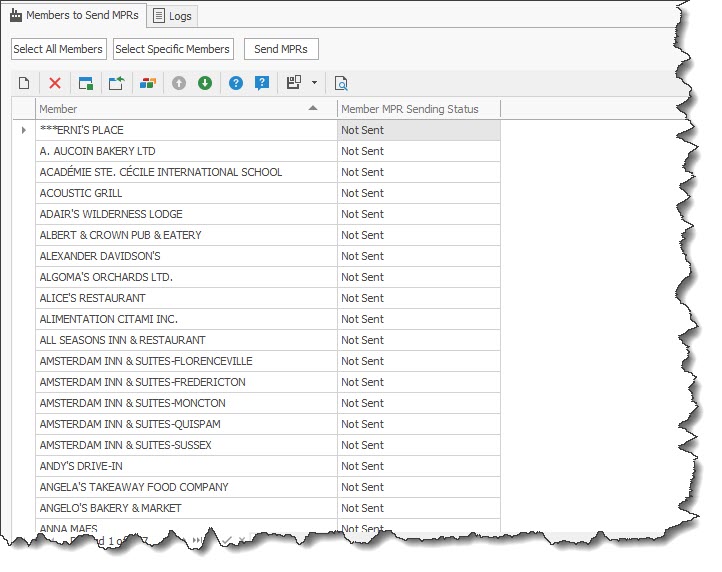
Users can view all members and select which member is to receive the MPRs in this New batch send file. In the Members to Send MPR tab, three buttons are displayed. As you progress from one status to the next, the buttons will move form grayed out to active and once that stage is completed will become grayed out again.
The three buttons are:
•Select All Members ( all members will be sent an MPR that have rebatable purchases and if the option "send report by email" is selected in the member profile.
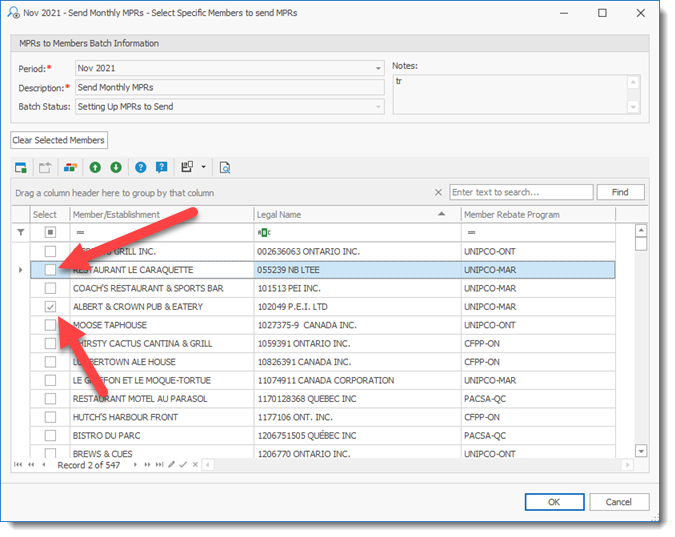
•Select Specific Members( allows to send an MPR to specific members) When selecting this option, the selection screen will display all users. Note that the * are required fields. To select the user(s) you must place a check mark beside the members name to identify it has been selected.
Important: to place a check mark, you must select (click) twice to register the check mark. If you click too fast, the check mark will not be registered.
•Send MPRs ( The button that actually send the MPRs and changes the status of the batch file)
Two columns are shown in the table are the member name and status of the MPR being sent.
The LOGS tab contains the various information related to the processing of the batch send request.
