Template
The topics in this section describe how to create a report based on available predefined templates in Visual Studio at design time.
Run the Report Wizard and select the Template option on its first page.
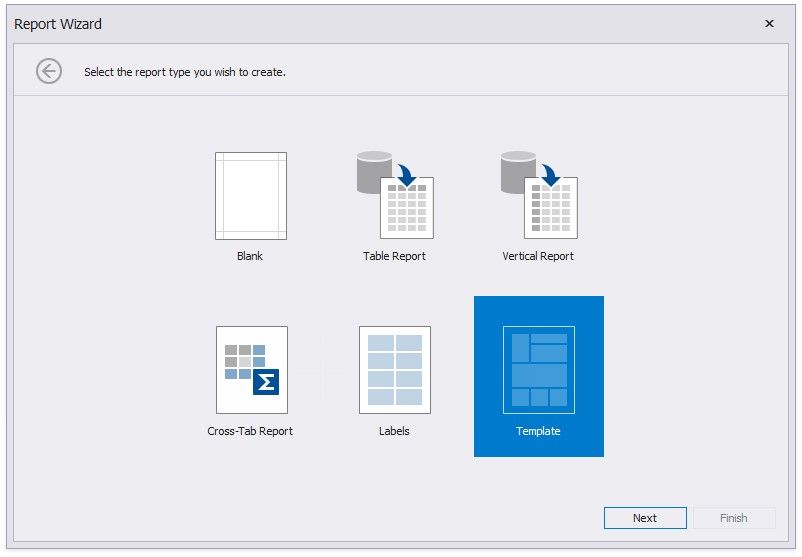
Template report creation includes the following steps.
Choose a Report Template
Select the Data Source Type
Map Report Template Fields
Specify Report Template Options
This wizard page allows you to choose one of the predefined report layouts.
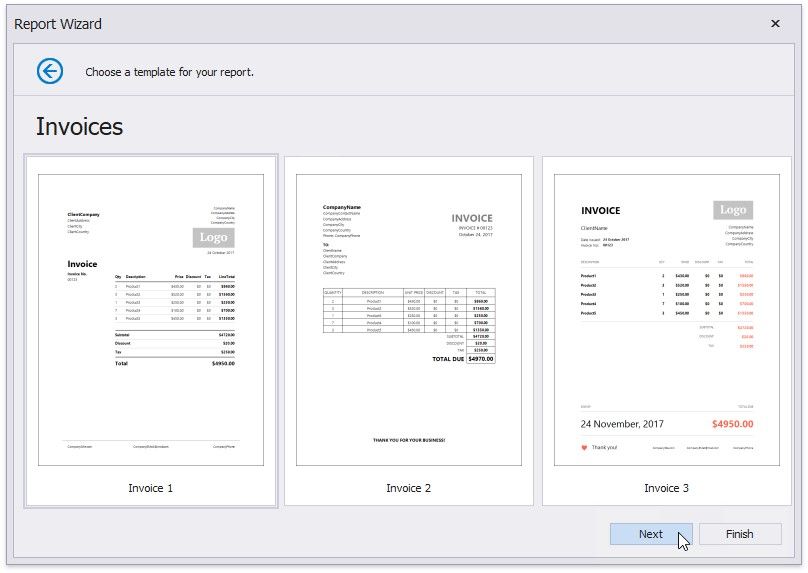
Once the wizard finishes, the selected template defines the arrangement of the appropriate elements in a report and their appearance settings. You can stop the wizard on this page by clicking Finish.
Click Next to provide data to your report and continue report customization.
The next page guides you through the data source setup.
After you configured a data source, proceed to the following wizard page: Map Report Template Fields.
Select the Data Source Type
This wizard page allows you to select the required data source type.

Click Next to proceed to the next wizard page, depending on the selected data source type.
Connect to a Database
Connect to an Entity Framework Data Source
Connect to an Object Data Source
Connect to an Excel Date Source
Connect to JSON Data Source
Connect to XPO Data Source
No Data
Map Report Template Fields
On this wizard page, you can specify the relationships between the data source's fields and predefined template fields, or provide static values for the template fields.
The tree on the left-hand side displays data source fields. The grid on the right-hand side contains two columns with available template fields and their values divided into categories.
Drag and drop the required data field from the tree onto the corresponding template field to map these fields.
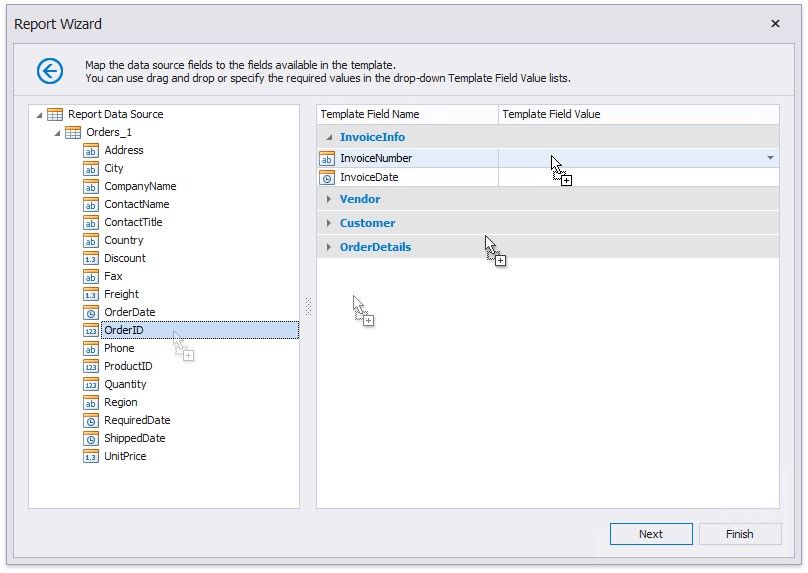
You can also select the necessary data field from the Template Field Value drop-down list.
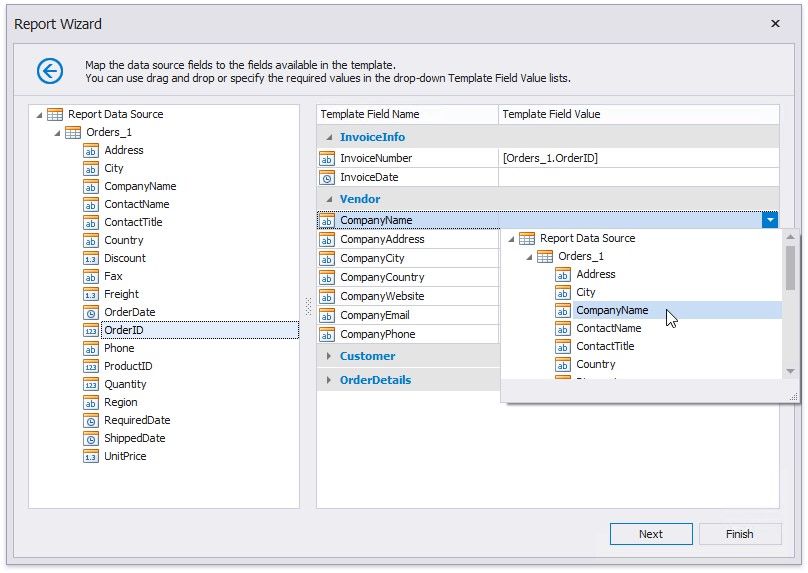
Select None in the drop-down list to delete a mapping.
You can also manually enter a static field value in the Template Field Value column.
If you do not provide values to specific template fields, the corresponding elements are added to the resulting report anyway.
You can stop the wizard at this step by clicking Finish or click Next to proceed to the following wizard page: Specify Report Template Options.
Specify Report Template Options
The following wizard page allows you to specify currency formatting options and the discount/tax options.
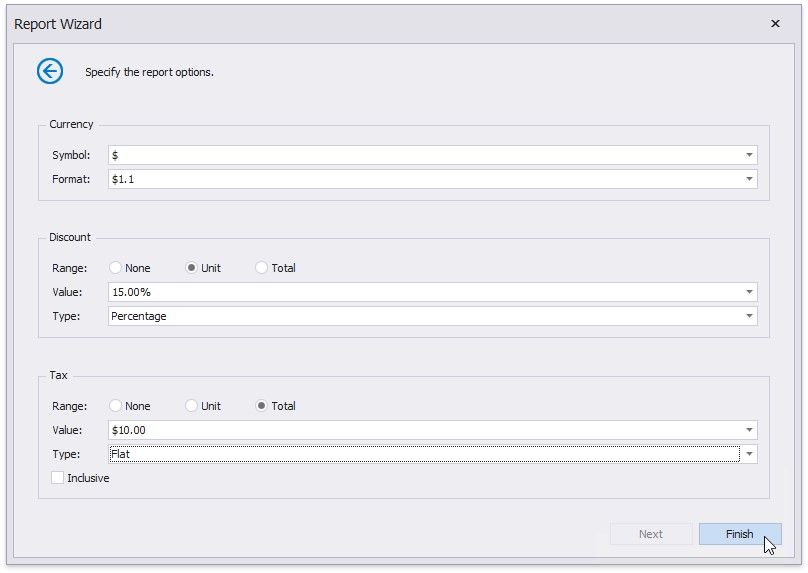
In the Currency section, select the currency symbol and format for displaying price values.
In the Discount and Tax section, you can specify the following settings.
Range - Defines whether the discount/tax value should not be taken into account (None), or should be used for individual items (Unit) or for the entire order (Total).
Value - Specifies the discount/tax value that can be static or bound to the data source field. Type - Specifies the type of the discount/tax value (flat, fixed or percentage).
Inclusive (for the tax only) - Indicates whether the tax value is included into product prices.
Click Finish to complete the wizard and get the resulting report.