The Product Guide Categories (1) permits a drill-down structure (3) to be created for products. Users can create the categories and sub categories by using the New (2) button from the Parent category.
IMPORTANT:
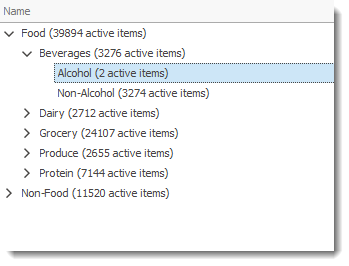
The display screen can take several seconds to appears as it calculates the number of items located under each category and sub-categories created.
|
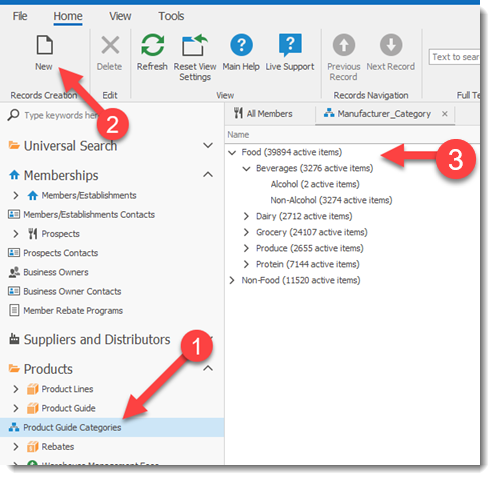
To Open/View a Category double click on the category name.
When you select a Parent category and press the New (2) button, RHOP will create a new sub-category below the selected Parent entry. In the example below we create a sub-category under the previously created Parent category called Alcohol.
To open a sub-category from a parent record, double click in the Sub Categories tab (1) grid the name of the sub category (2) you wish to view.

How to Create a Sub Category
The New (2) button located in the tool bar (see the first image for this help page) creates the sub-category record for the chosen parent.
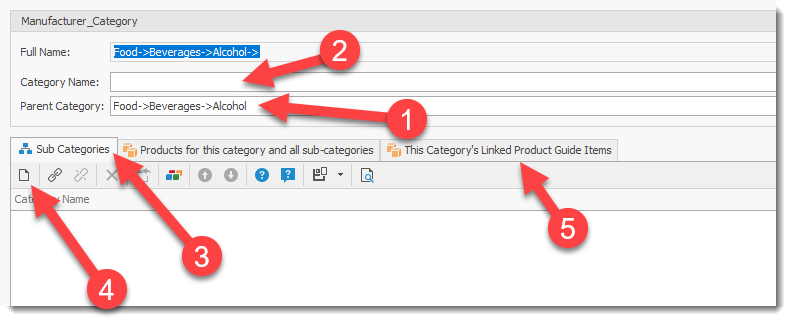
1) The Parent Category under which the new category will be created
2) The Category Name of the New Sub-category the user is creating.
3) Users can create sub-categories directly from this Category screen by adding the sub categories with the NEW button (4) located in the list of sub-categories for the selected screen.
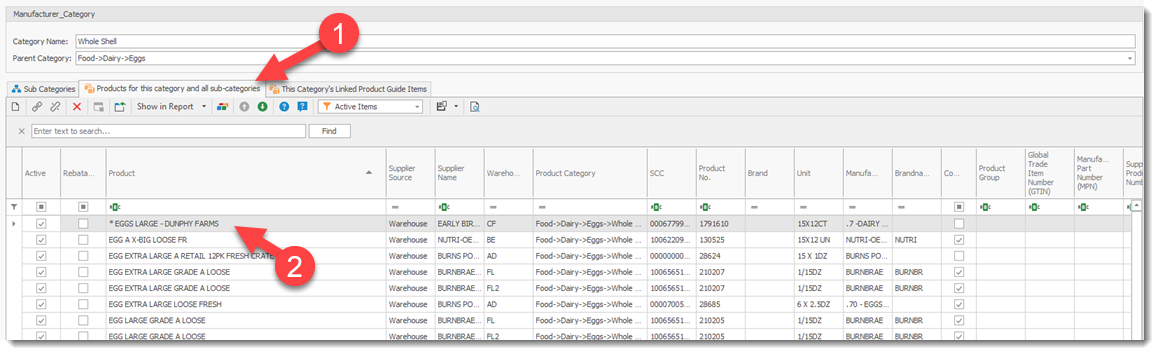
Products for this category and all sub-categories Tab
List all products in the category (parent) selected as well as products in all sub-categories of the Parent category.
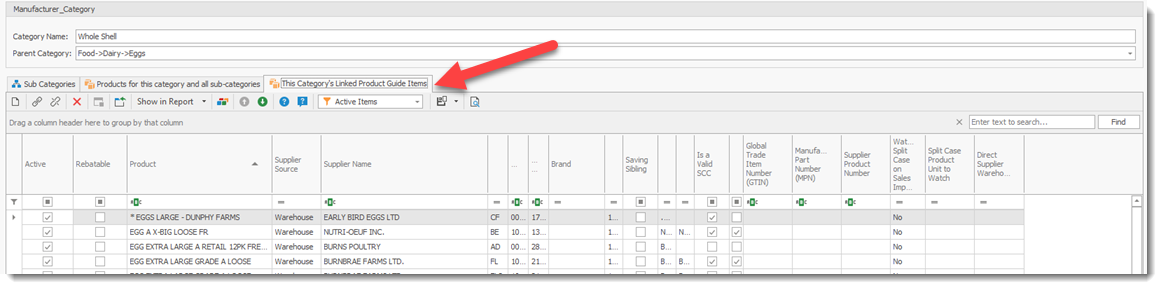
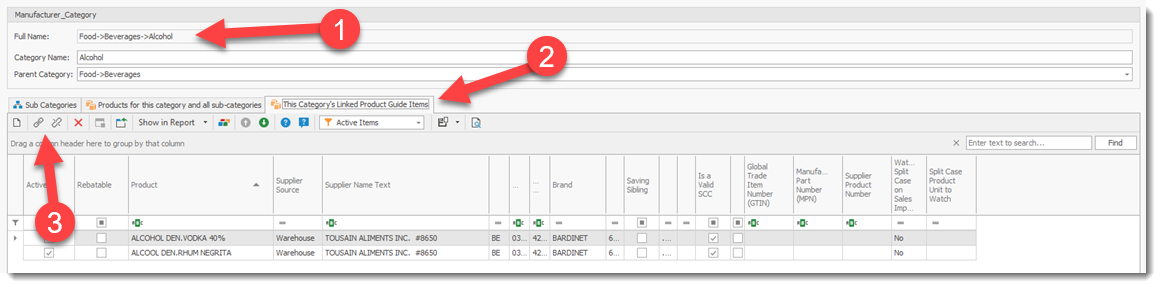
List all products linked to the selected Category. You can link and unlink categories using the Link and Unlink buttons ![]() .
.
How to Link / Unlink Products to a Category
Open the This Category's Linked Product Guide tab (2) for the Category (1) you wish to link/add products.
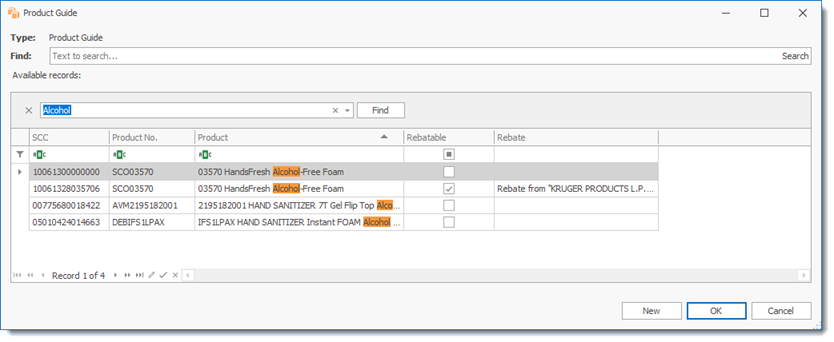
2) Select the Link icon (3) ![]() to chose your product. The search screen is displayed and you can search all products in the product guide. Once you have located the product(s) (you can select more than one at a time by highlighting the items), double click on the product or highlight the product(s) and select the OK button to link the product(s) to the category.
to chose your product. The search screen is displayed and you can search all products in the product guide. Once you have located the product(s) (you can select more than one at a time by highlighting the items), double click on the product or highlight the product(s) and select the OK button to link the product(s) to the category.
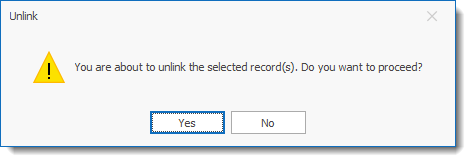
3) Highlight the product to unlink and select the Unlink (3) ![]() button. A confirmation message is displayed to confirm the unlink of the product to the category.
button. A confirmation message is displayed to confirm the unlink of the product to the category.
View Products Linked to a Category
A user can drill down into a product category by double clicking on a category
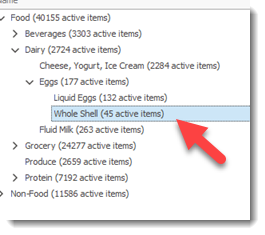
The product Category screen will open. Select the Product for this category and all sub-categories tab (1) to view all product linked to the selected product category and sub-category. Note that this tab shows all category and items. Therefore, if you select for example, Dairy, it will include all items below this category which means items in the Cheese, Eggs and its associated sub categories and Fluid Milk. Items can exist that are not part of the Product Guide.
By double clicking on a product item (2) the user can open the product information screen.
By selecting the This Category's Linked Product Guide Items tab it will display only the items that exist in the Product Guide and are linked to the selected category.
By double clicking on a product item the user can open the product information screen.