Item Positioning
You can change the position of a dashboard item by using drag-and-drop and one of the following approaches.
If the caption of the dashboard item is visible, click it and hold down the left mouse button while dragging the item. If the caption of the dashboard item is not visible, click the ![]() icon in the top left corner, and hold down the left mouse button while dragging the item.
icon in the top left corner, and hold down the left mouse button while dragging the item.
Depending on the required dashboard item position, a new layout group is created (if required) to maintain the arrangement of items. Thus, the dashboard item can be inserted to the desired area of a new or existing dashboard layout group.
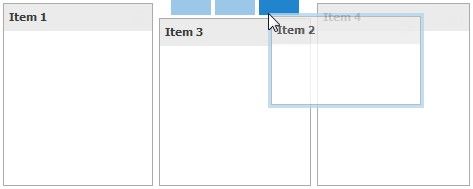
The following table illustrates how a dashboard item is dragged.
ACTION |
DESCRIPTION |
|
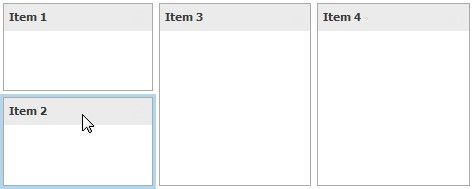
Select the required dashboard item. |
|
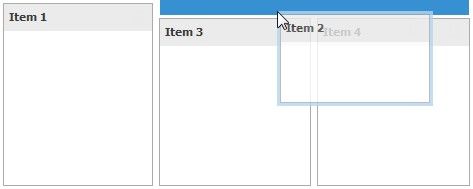
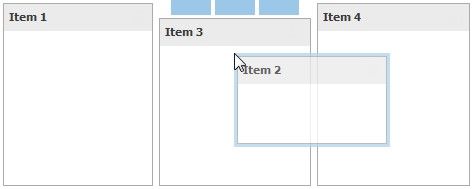
Drag the dashboard item to the expected area. The drag indicator ( |
|
Move the mouse cursor to the required position. The drop indicator ( |
|
|
ACTION |
DESCRIPTION |
|
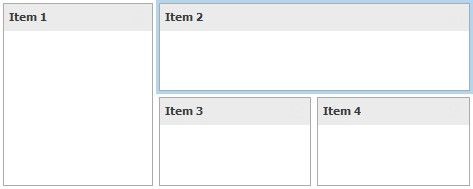
Then, the drop indicator sequentially displays areas that can be occupied by the dashboard item. Release the left mouse button when the drop indicator displays the required area. |
|
The dashboard item is moved to a new position. |